
Do you own a car? If so, I’m sure you’ve already experienced the frustration of an engine light coming on and the dash going crazy with beeps, whistles, and buzzes. If you don’t know how to fix it or take it to the shop, what are you supposed to do? Don’t worry; there’s an easier way! Today we will tell you how to use an OBD scanner like a pro!
What exactly is an OBD scanner?
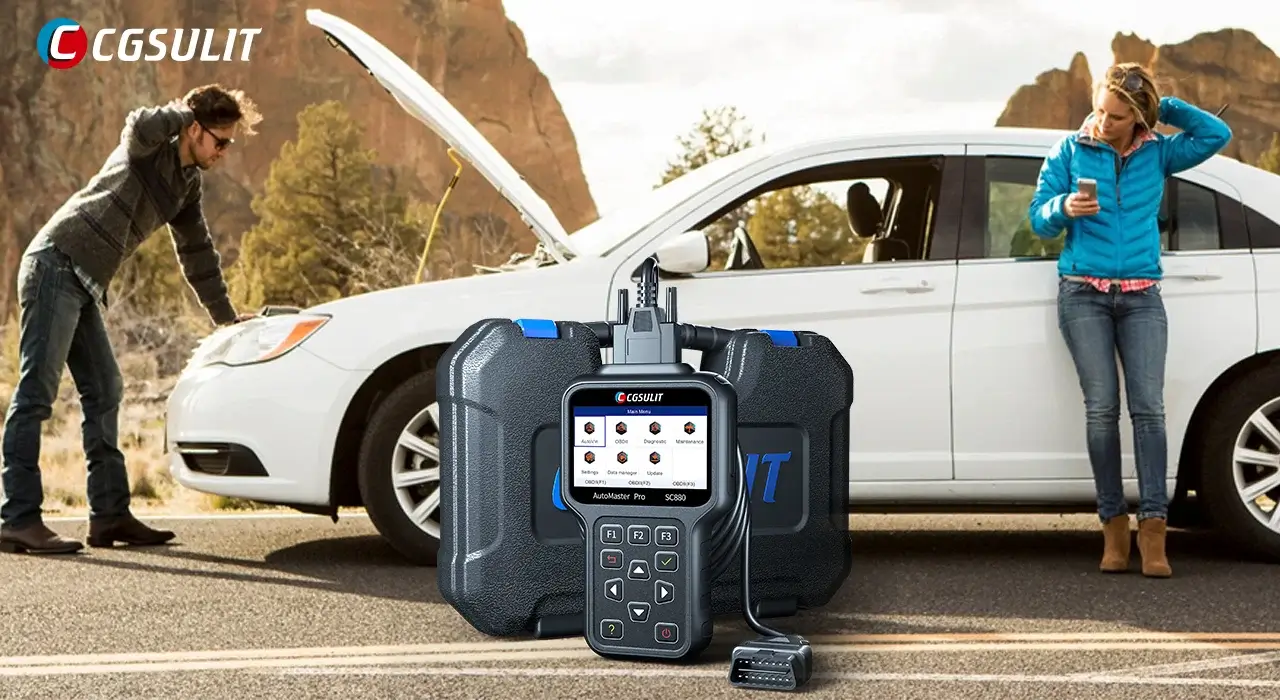
An OBD scanner is a tool that allows you to diagnose problems with your car. While most people are familiar with it as that thing I plug into my car’s diagnostic port, there’s so much more under-the-hood technology than meets the eye. These handy little gadgets can tell you everything from why your check engine light is on, whether or not you have any performance issues (and what might be causing them), and how efficient your engine is running.
What are its benefits?
An OBD2 scanner is not just any device that you can buy off CGSULIT, it’s a must-have tool that every vehicle owner should have on them. Why? Because it can easily pinpoint issues in your car before they cause major damage.
They also keep track of your fuel efficiency by providing you with information on how well your engine is running—and what you can do to make it run better. For instance, if there are issues with carbon monoxide coming out of your exhaust system, your car will let you know right away. All in all, when used properly, OBD scanners provide safety benefits for both drivers and their passengers.
Why you should buy one?
These days, just about every car manufactured after 1996 has an On-Board Diagnostic (OBD) port somewhere on it. The OBD port is used by auto technicians to diagnose problems in a car’s computer system and repair them.
The same diagnostic abilities can also be leveraged by anyone who owns a specialized device called an OBD scanner, which lets you capture information from your car’s computer system, or read error codes that are sometimes stored there.
What are the different types?
There are two main types of scanners: Bluetooth and Wi-Fi. The main difference between them is that Bluetooth scans can only read data from vehicles made since 1996, while Wi-Fi scan tools can connect with any car.
Another difference is that Bluetooth devices connect to your mobile device using Bluetooth, while Wi-Fi scanning tools connect through your home or office Wi-Fi network. One final difference is price; a quality Bluetooth scanner will cost about half as much as its Wi-Fi counterpart.
Suggestion: 9 Touch Screen Car Stereo With Bluetooth And Backup Camera
What do they cost?
Depending on what you’re using it for, scanners range from $60 to $250. This might sound like a lot, but for someone who needs access to diagnostic information in order to work on cars, that’s nothing. And good scanners can last you years if you take good care of them—which brings me to my next point…
How do I use it correctly?
Using an OBD2 car diagnostic scanner is easy and simple.
Here’s a step-by-step guide:
Step 1: Locate The Diagnostic Link Connector
Step 1 is identifying your car’s diagnostic link connector. This can be found under your steering wheel, on top of your dashboard, or inside your glove compartment. If you don’t know how to find it, go ahead and contact your local mechanic.
He should be able to show you where it is without too much trouble—and for a nominal fee. The diagnostic link connector will look like two metal boxes with two black cords leading out of each one.
Step 2: Connect Your OBD2 Code Reader Or Scanner To The DLC
The next step is to connect your OBD2 code reader or scanner to your DLC in order for it to read information from your car’s onboard computer. The OBD2 port is found under or near your steering column, so if you don’t see one, check behind it. Connecting your code reader/scanner can vary depending on its brand, but here are a few common ones
Suggestion: 8 Best Motor Oil For Cars Over 100K Miles For High Performance
Step 3: Enter The Information Requested On The Scanner Screen
The next step is to enter all of that information. The data should be easy enough for you to figure out, but if you’re still confused then there are more detailed instructions on the device’s display itself.
Here are some examples of what these might look like: Enter the Vehicle’s VIN or Enter the Odometer Reading. If you need any clarification about how you should enter these fields, then refer back to your scanner’s display.
Step 4: Access The Scanner Menu For OBD Codes
The menu you access for checking OBD codes is always named something different between car brands, so check your manual if you aren’t sure how. In most vehicles, accessing it is as simple as holding down two buttons at once (on some cars it’s three buttons).
In some cases, accessing it requires turning off your engine completely before pressing one of these buttons. This process may also vary by the make and model of the scanner. Consult your user guide for specifics.
Step 5: Identify And Understand The OBD Codes
The OBD II (On-Board Diagnostics) system monitors your vehicle’s performance via sensors. When something goes wrong, it will detect and report that condition as a code, which may be sent to your dashboard or stored in memory. It can also sound like a trouble code warning light on your instrument panel.
Step 6: Move On To Trouble Code Diagnosis
Diagnosing problems is both fun and helpful. When you run into problems, it’s usually because you don’t have enough information about what’s actually happening. An OBD scanner makes it easy to collect that data, giving you insight into how your vehicle runs and allowing you to diagnose issues quickly.
Now that we’ve covered what an OBD scanner does, let’s move on to diagnosing trouble codes so you can use yours effectively.
Step 7: Reset The Check Engine Light
Most modern cars are pretty sophisticated. A lot of components are connected, sometimes as many as 1,000. So when something goes wrong with your vehicle, there’s no way you can fix everything yourself.
Instead, check online to determine if your issue has already been identified by car manufacturers or other owners. Then reset your Check Engine Light and bring your car into a certified repair shop for diagnosis.
Discover more from Locar Deals
Subscribe to get the latest posts to your email.

